Advantages of Digital Impressions
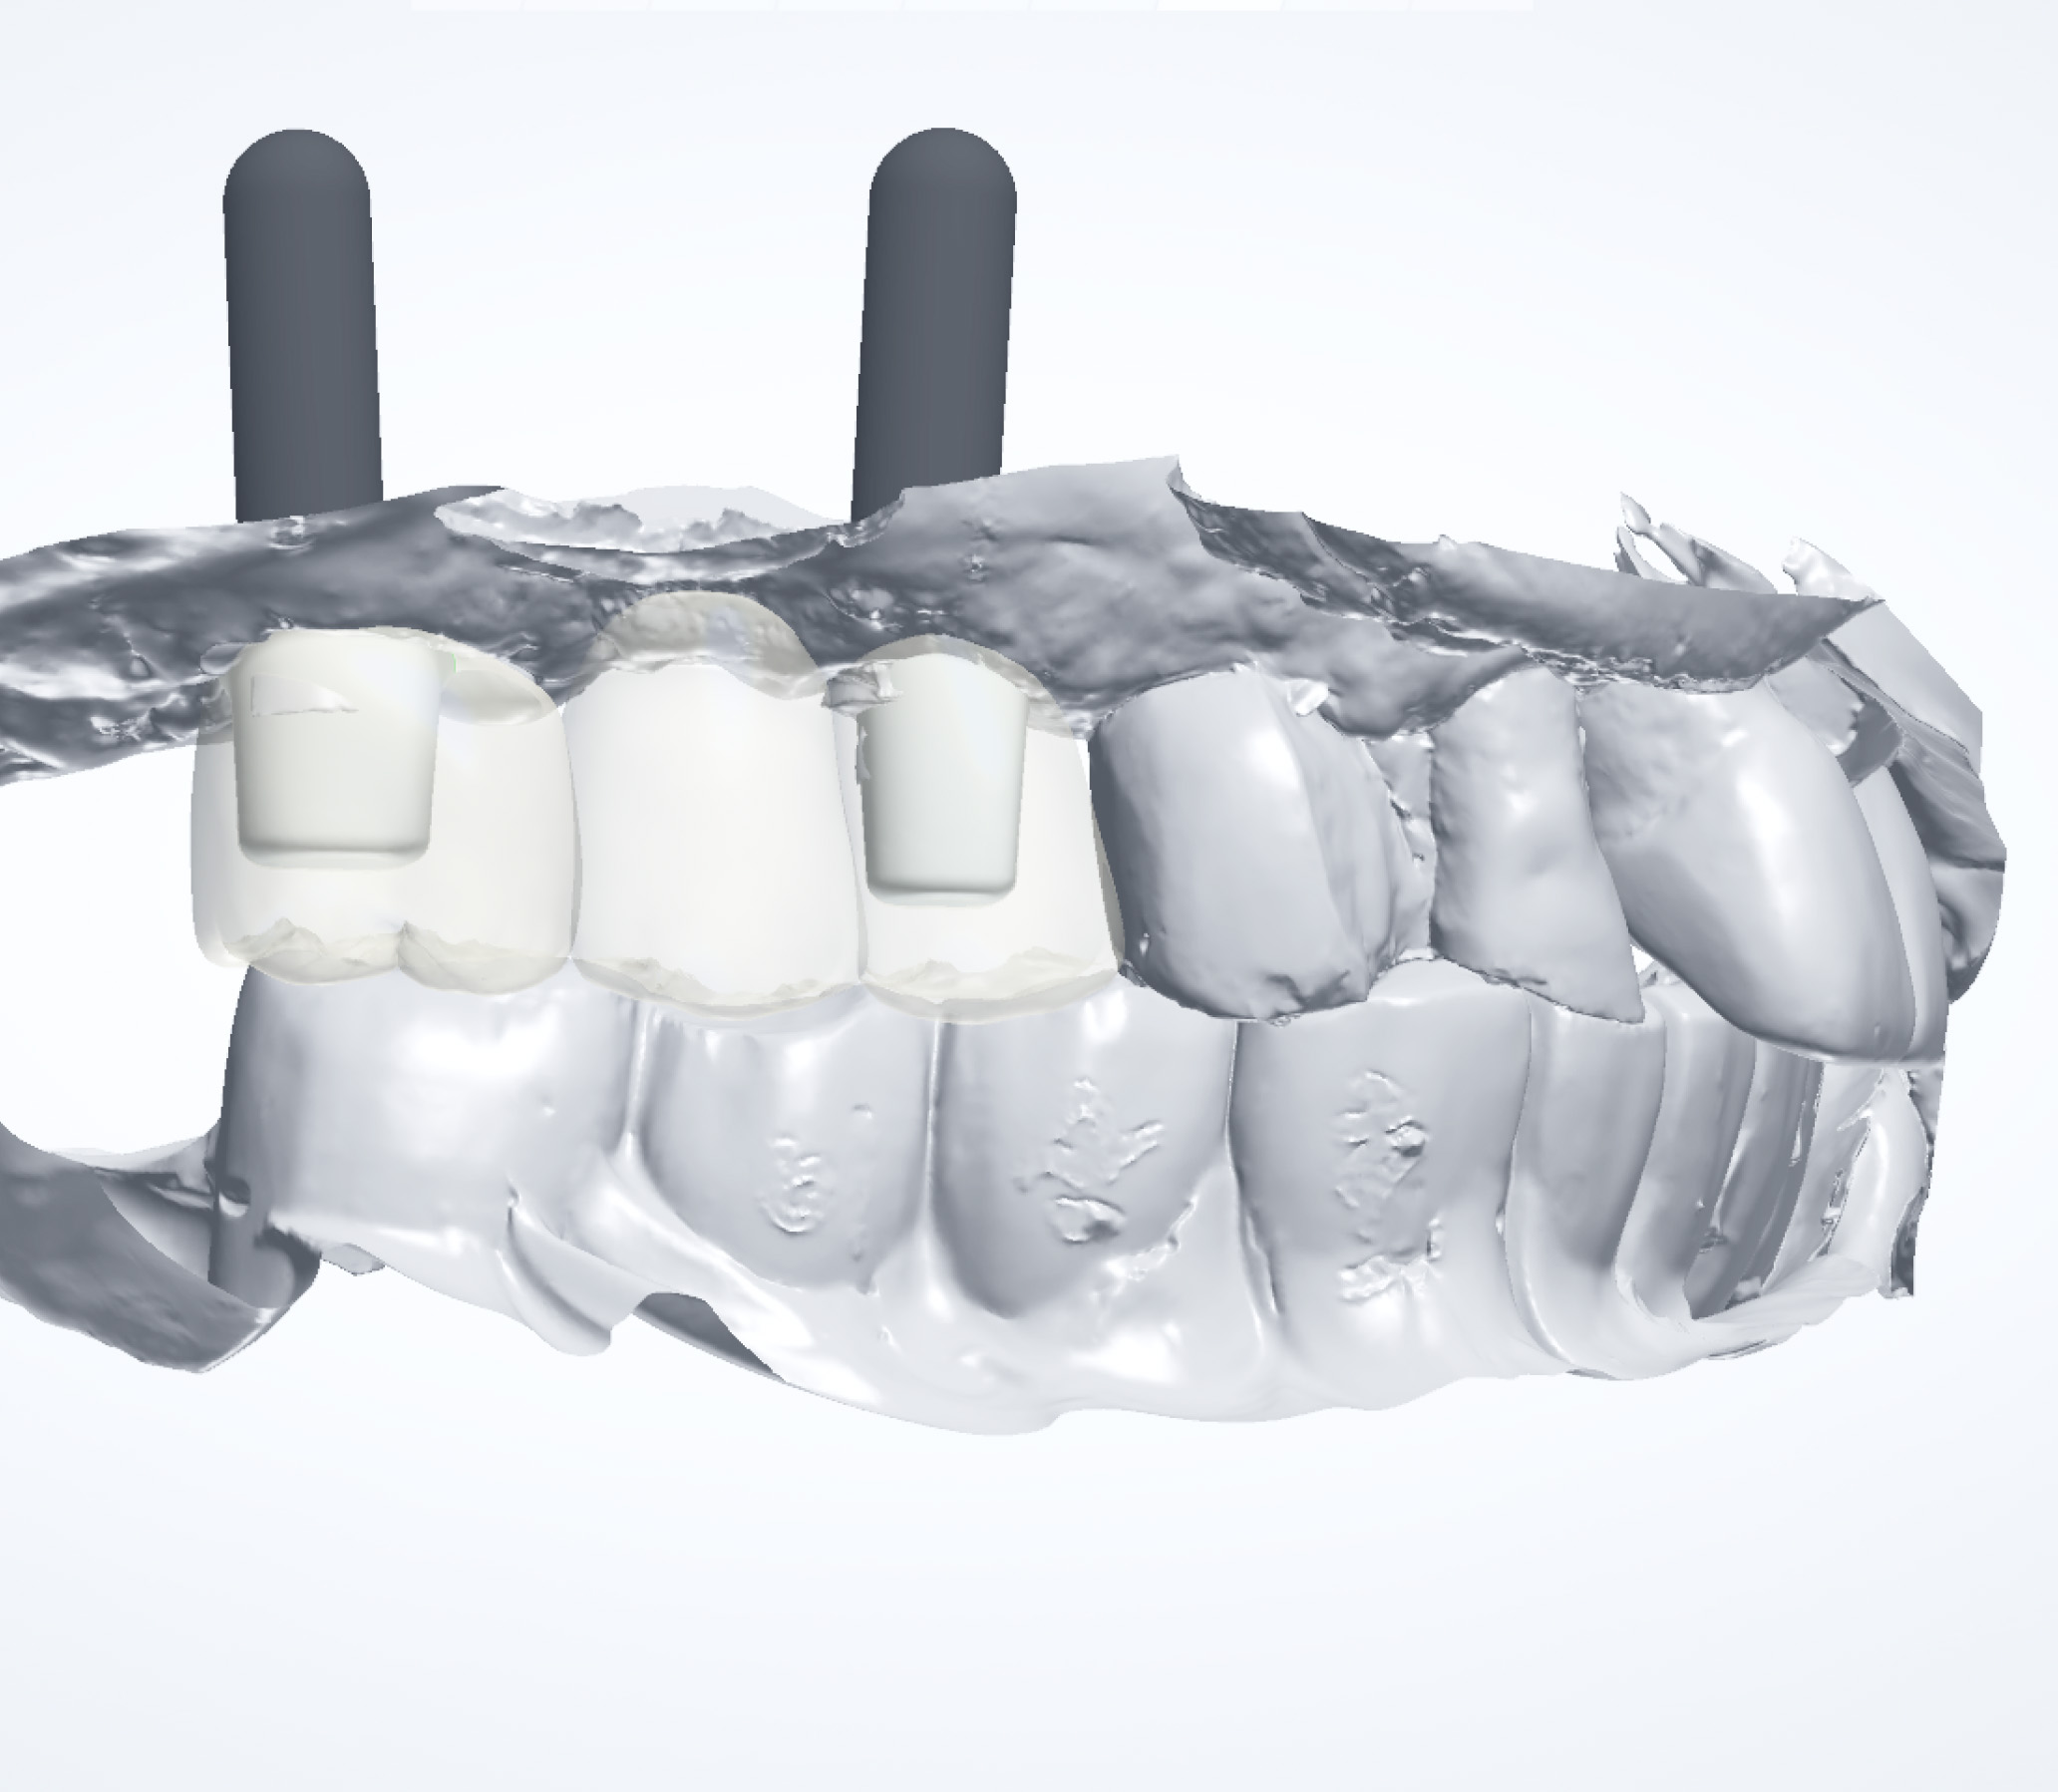
At Zenith Dental Lab, there is no intraoral scanner and the oral scan body (healing type)The rubber impression used allows for custom abutment and crown work.
-
01
Reduced patient pain and reduced chair time compared to conventional methods
-
02
Compared to conventional methods, only plaster pouring reduces the error factor
-
03
Reducing byte error by using byte trays compared to digital methods
-
04
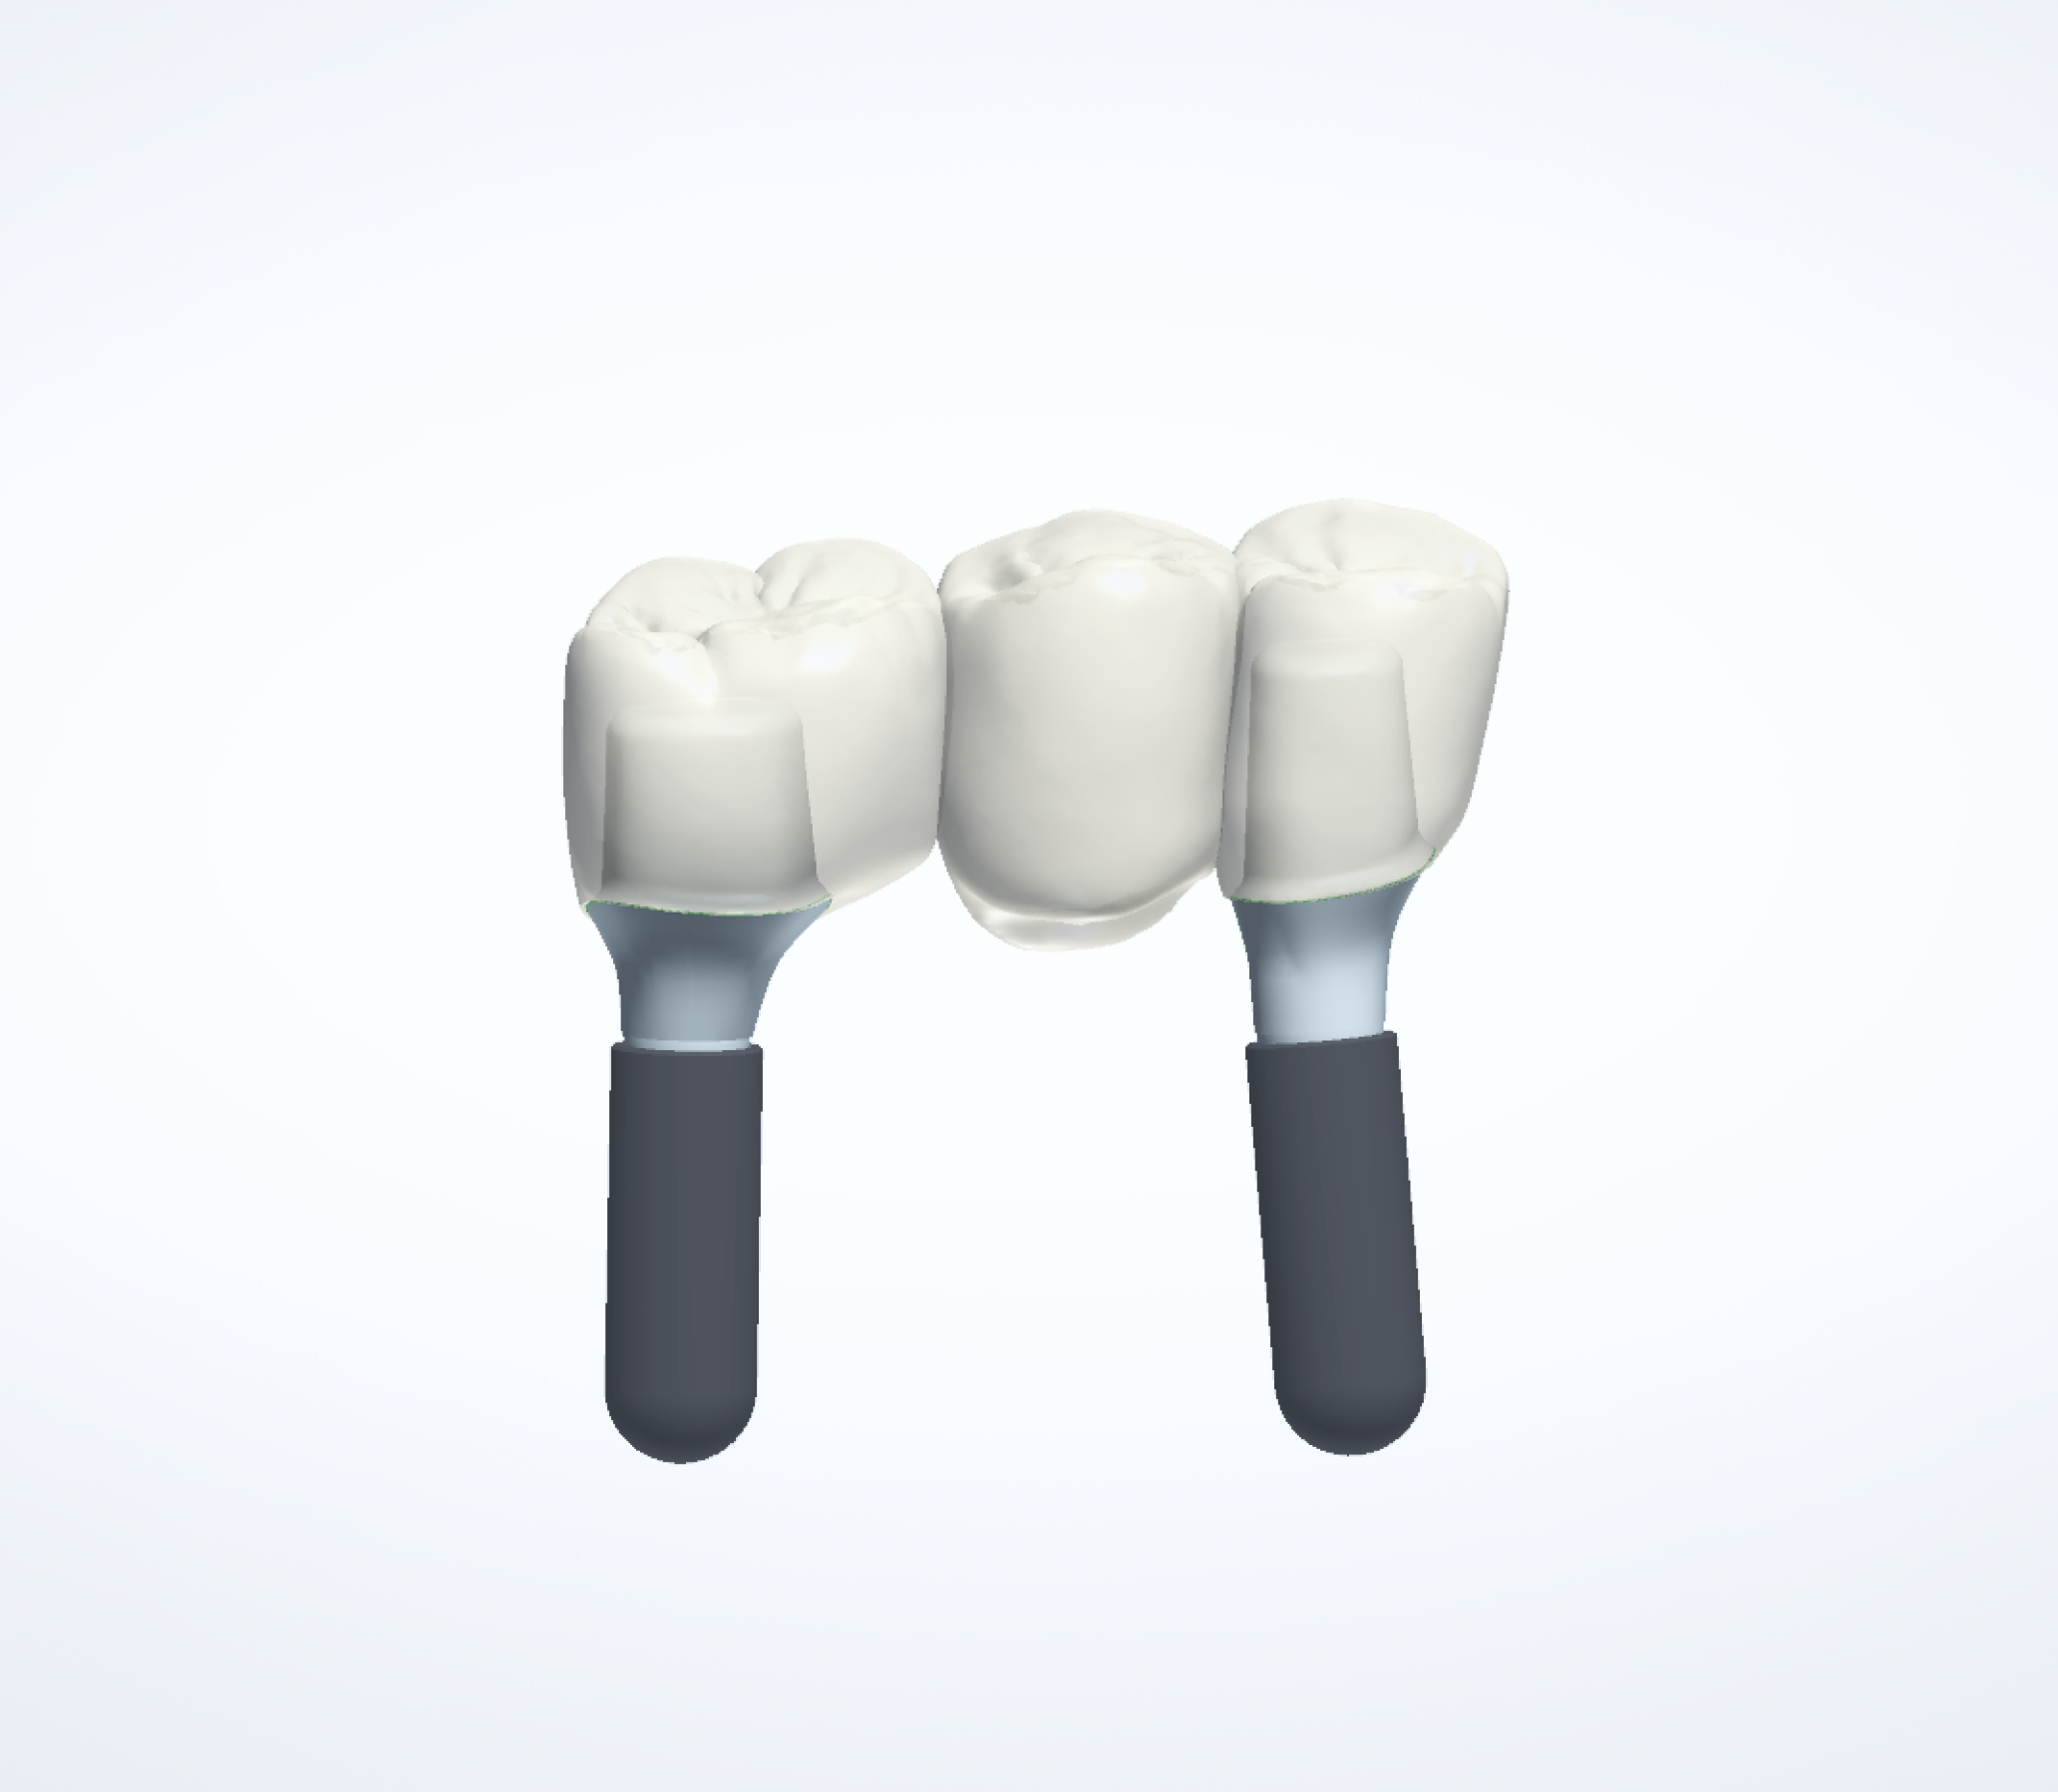
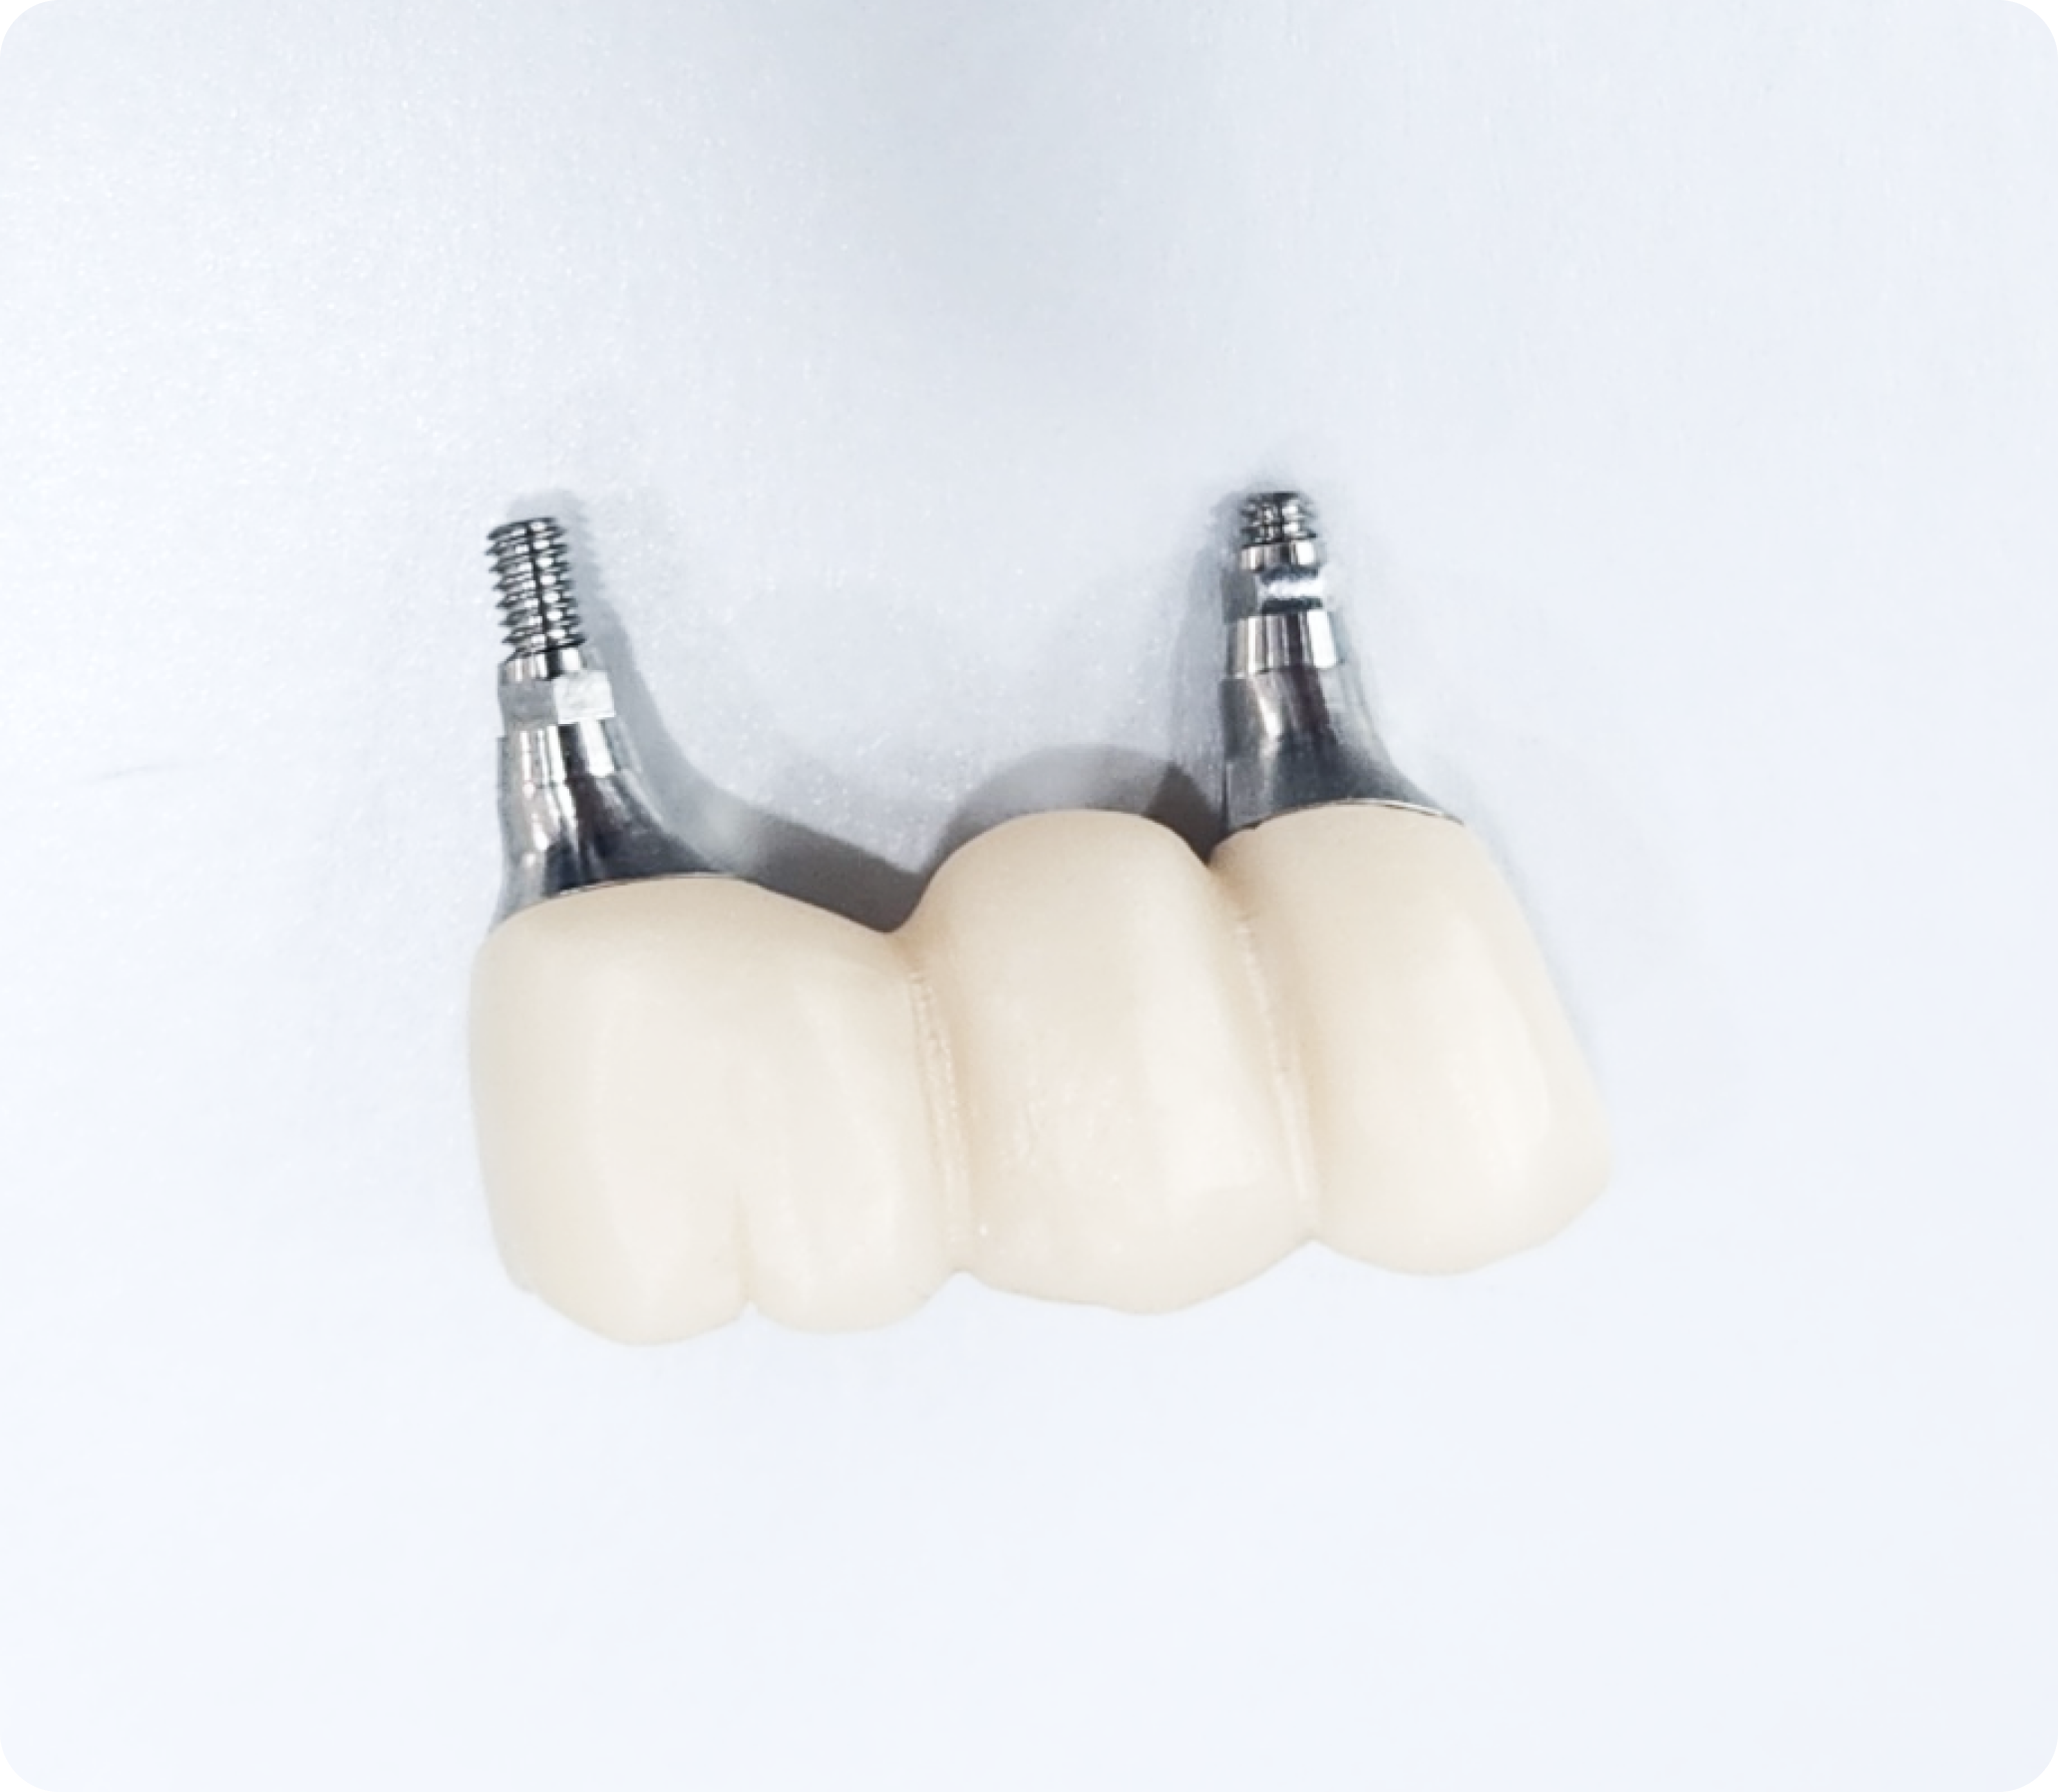
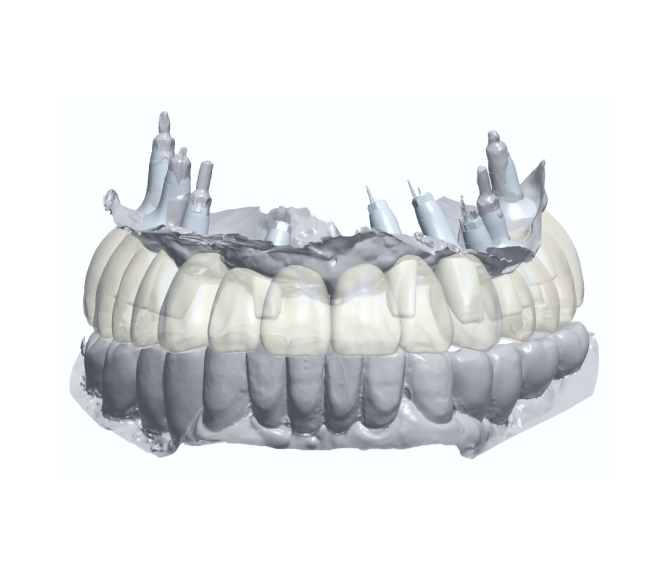
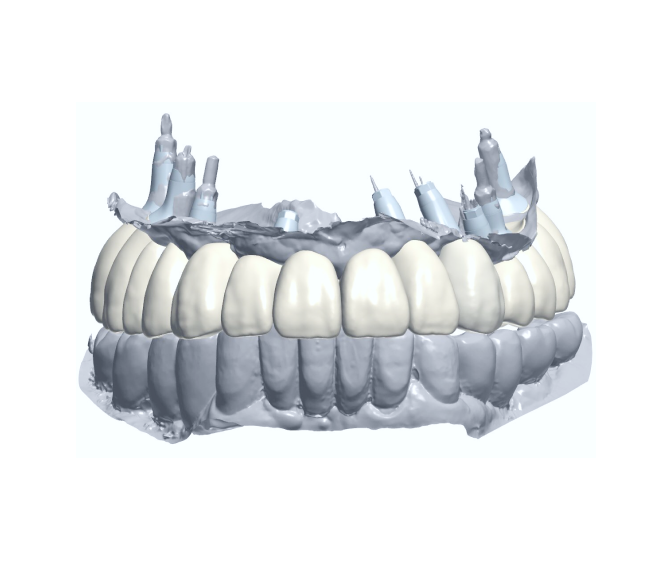
Custom abutments and crowns can be made
-
05
Can be used without an intraoral scanner
Scan plaster casts for digital CAD/CAM work
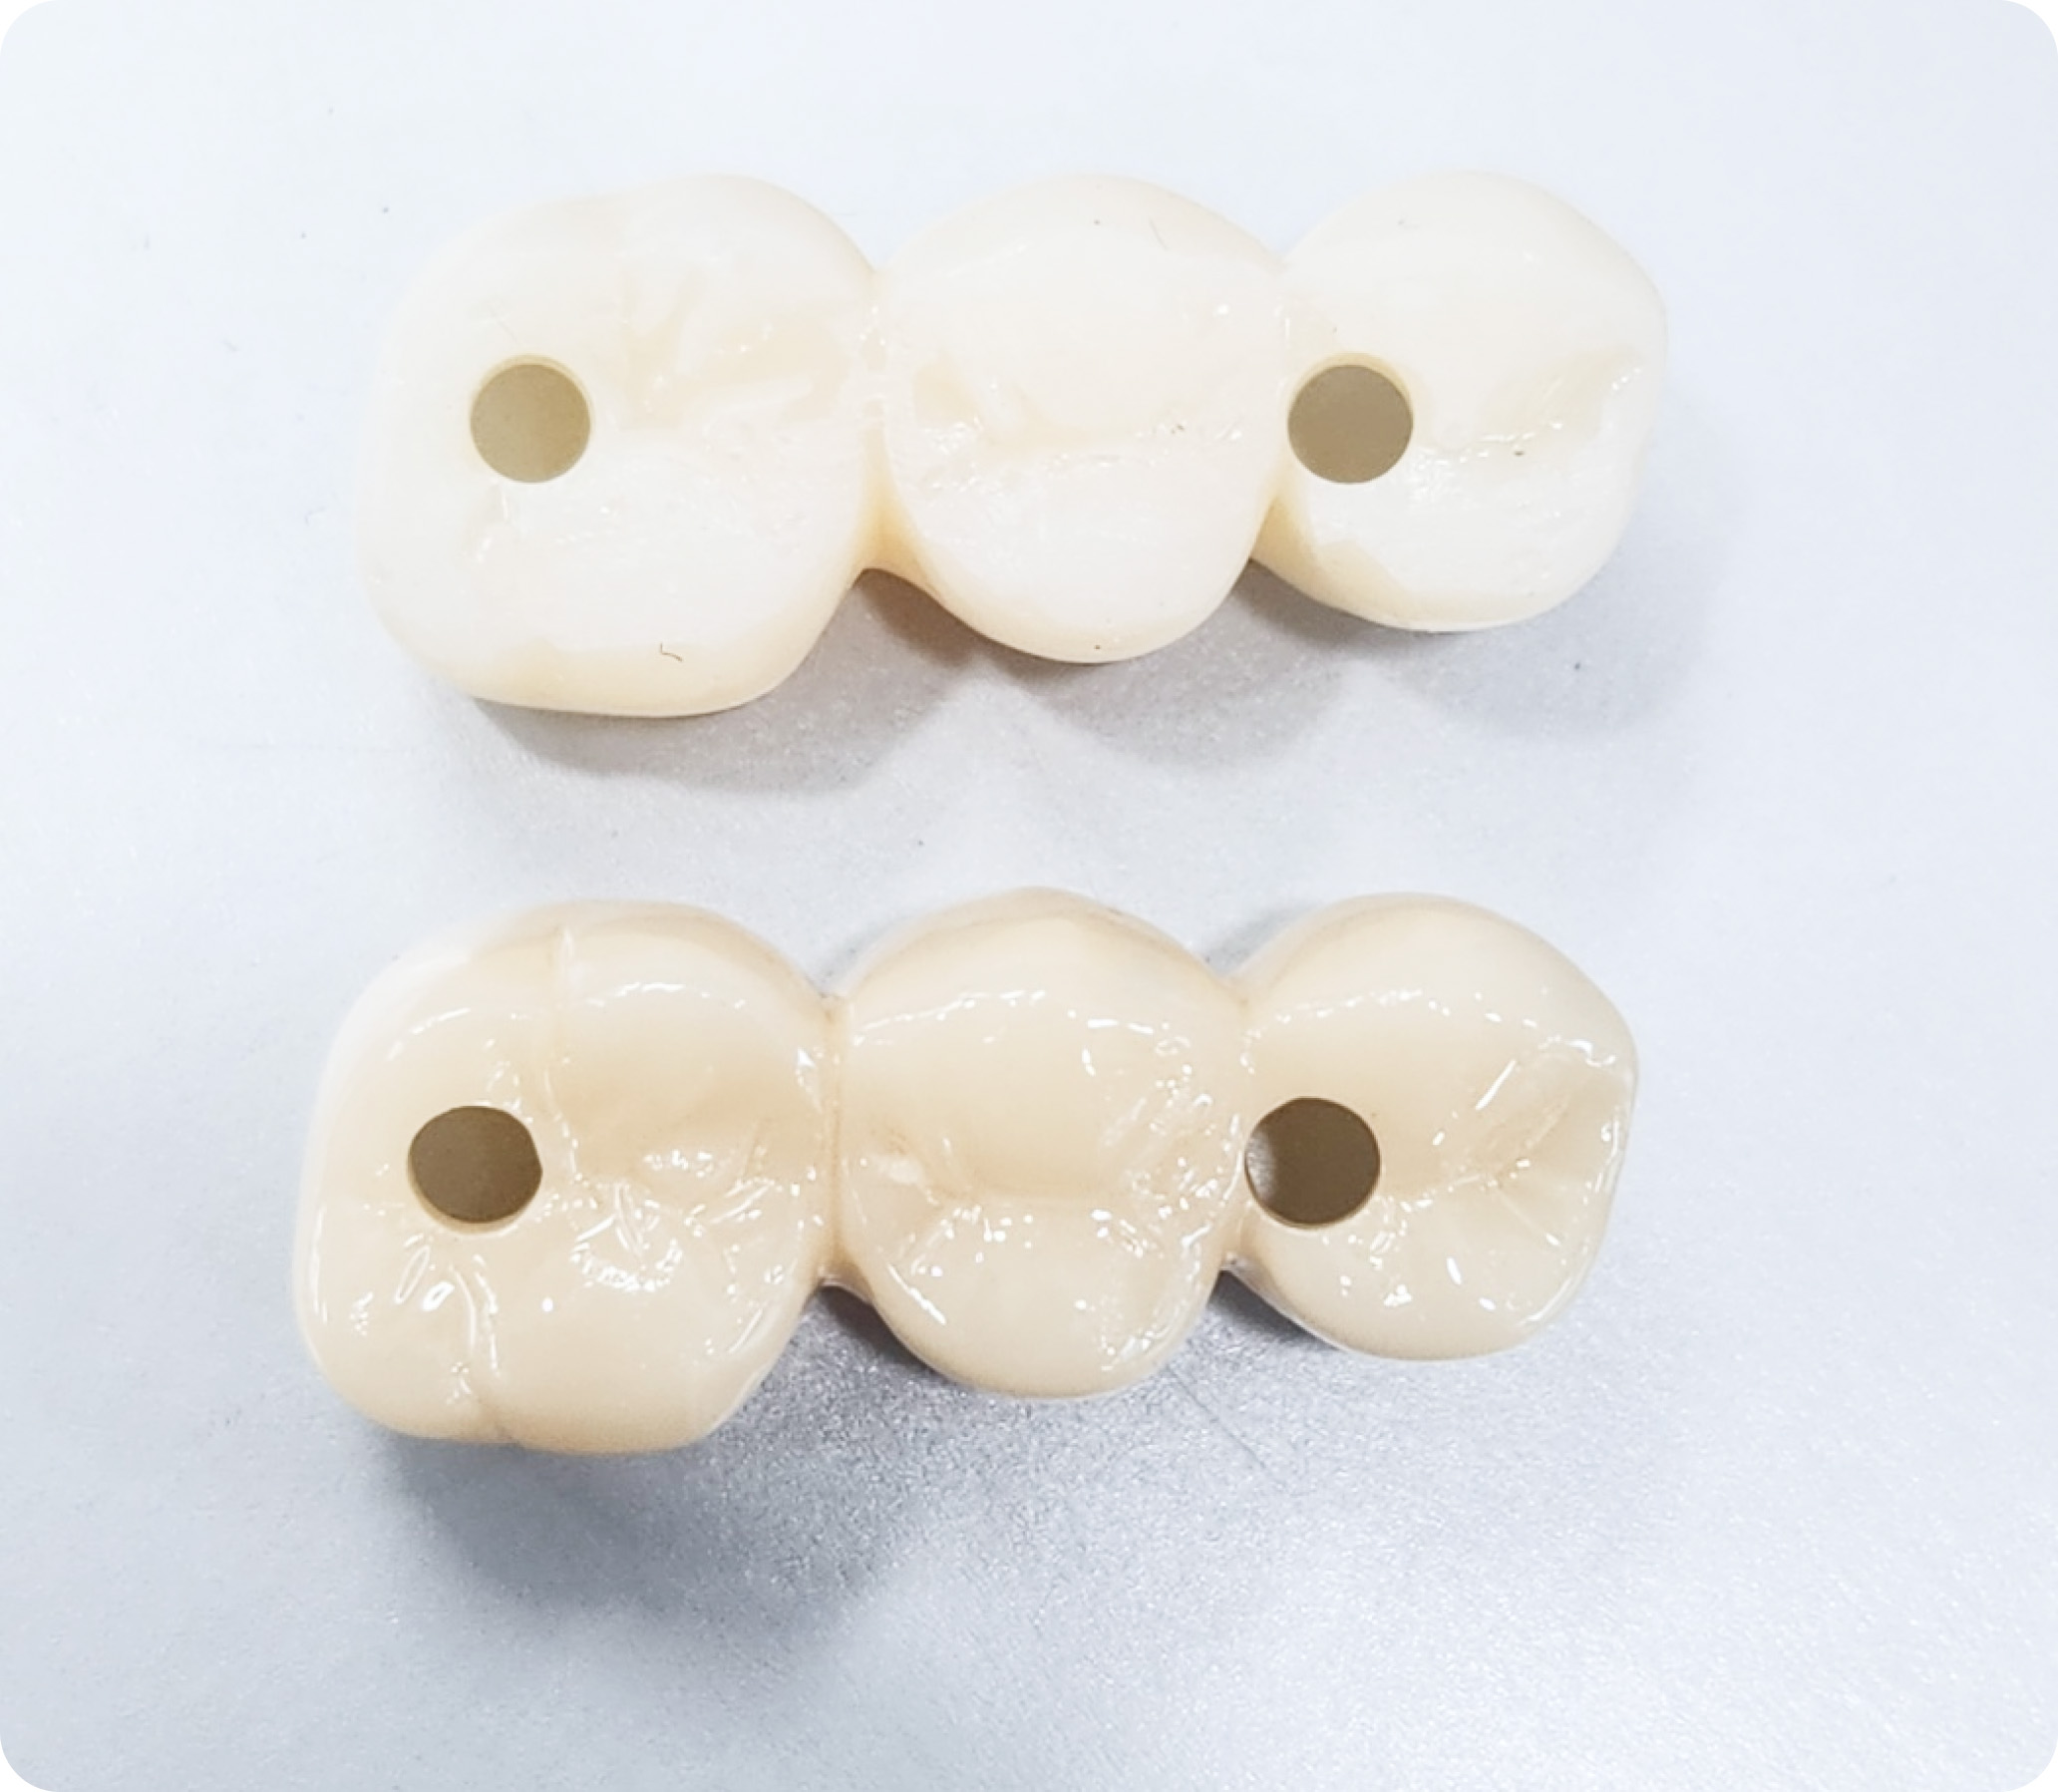
Temp. Completion of the form of jig and final prosthesis
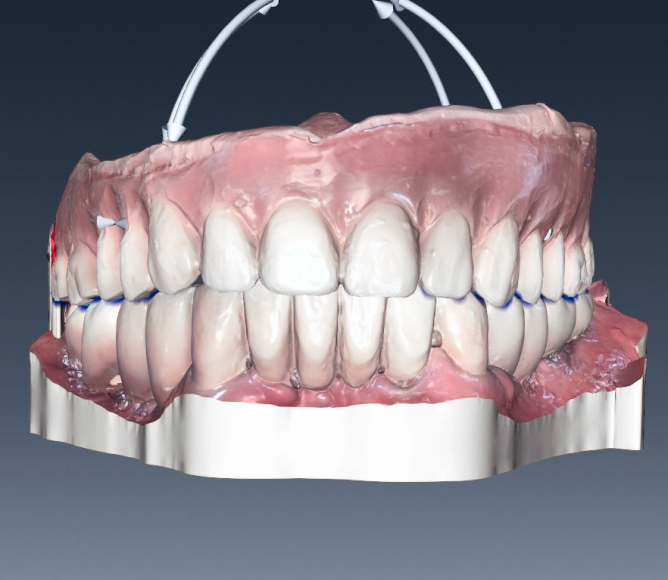
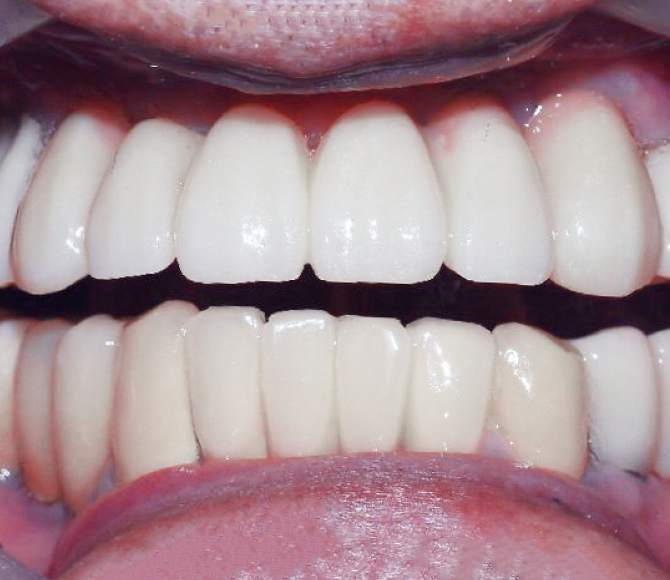
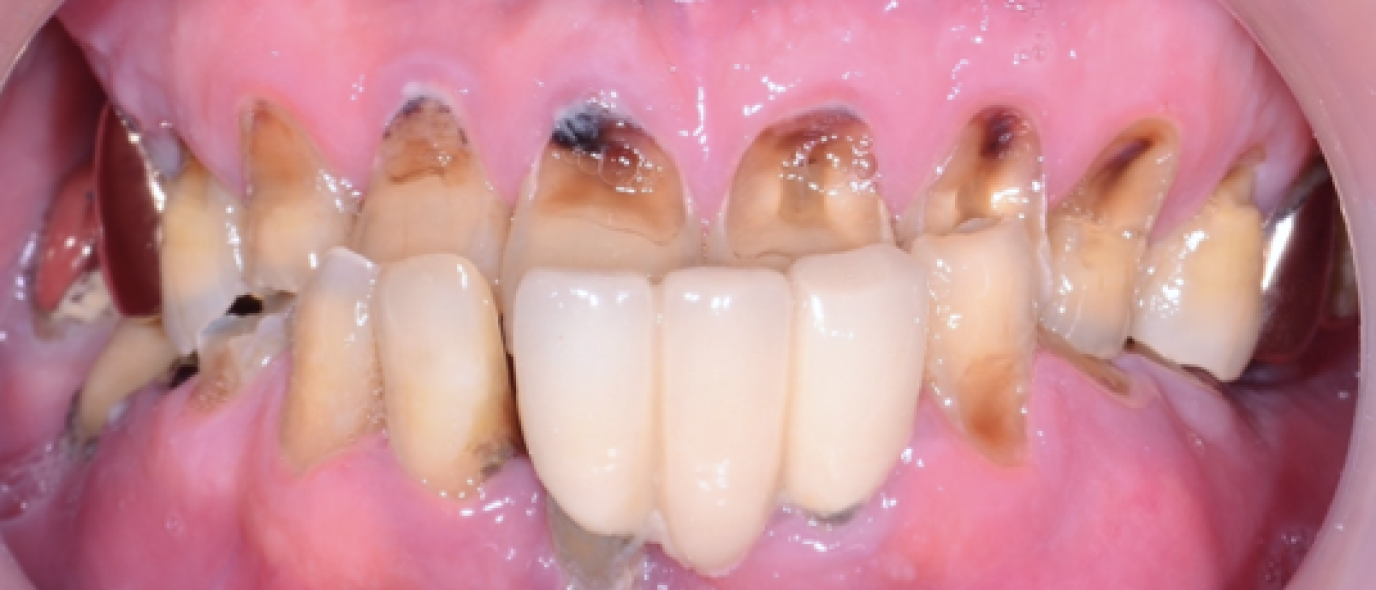
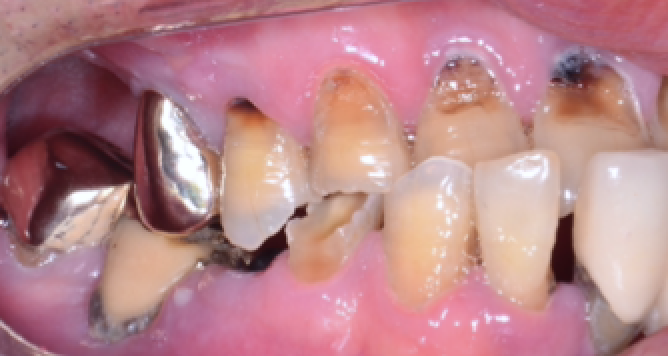
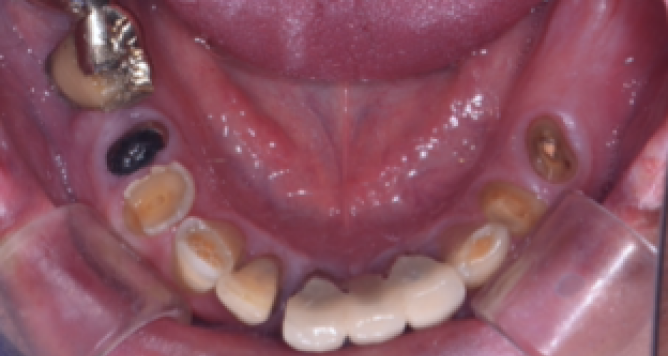
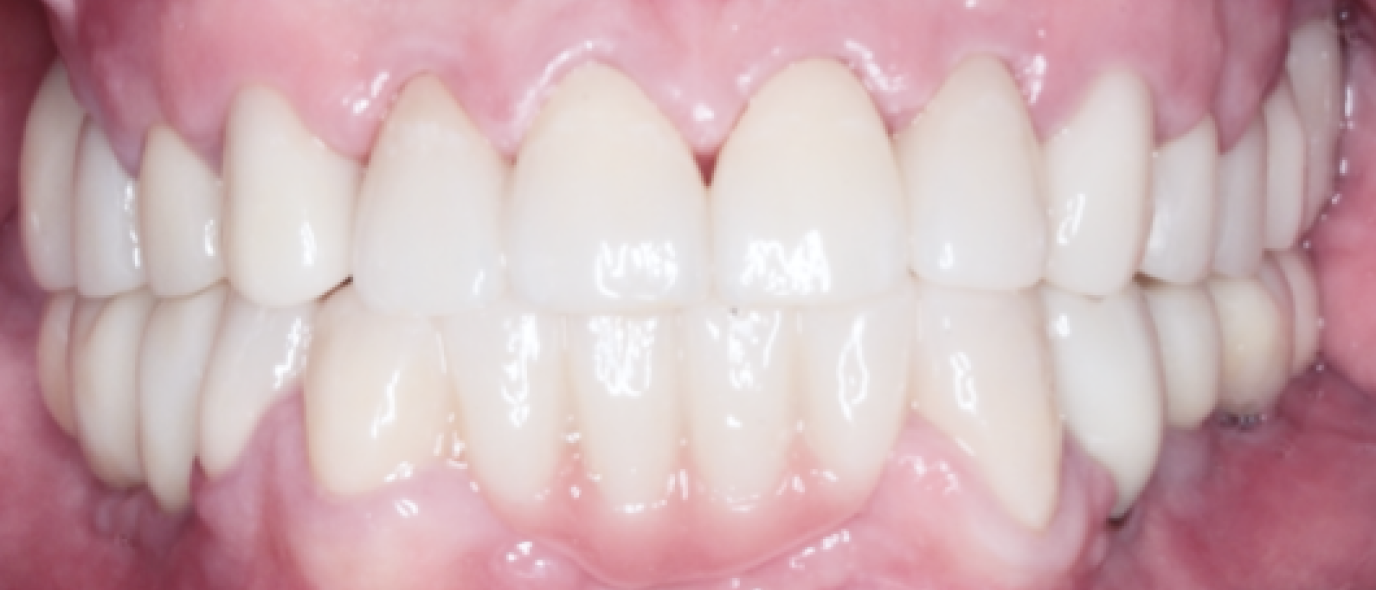
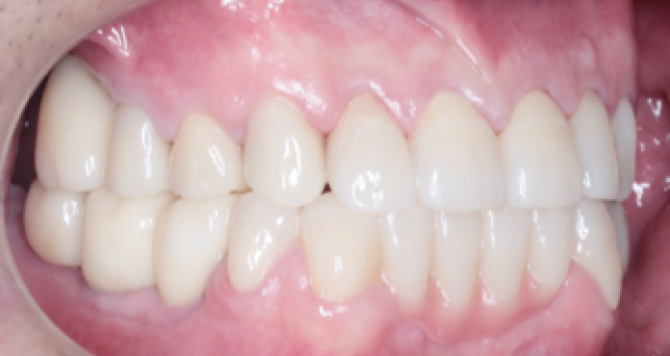
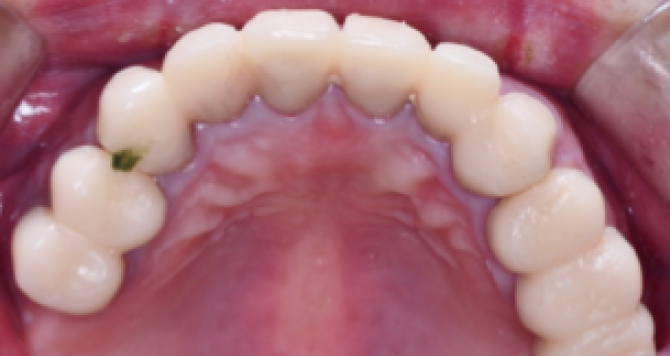
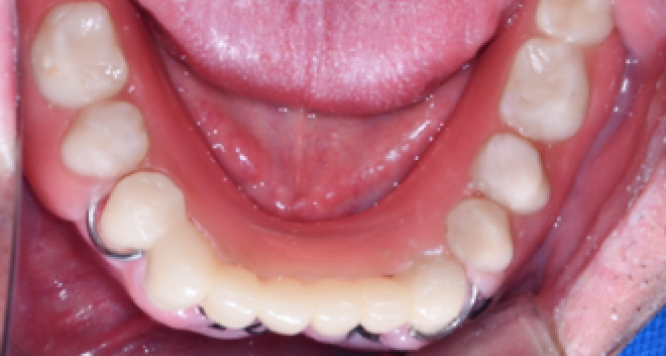
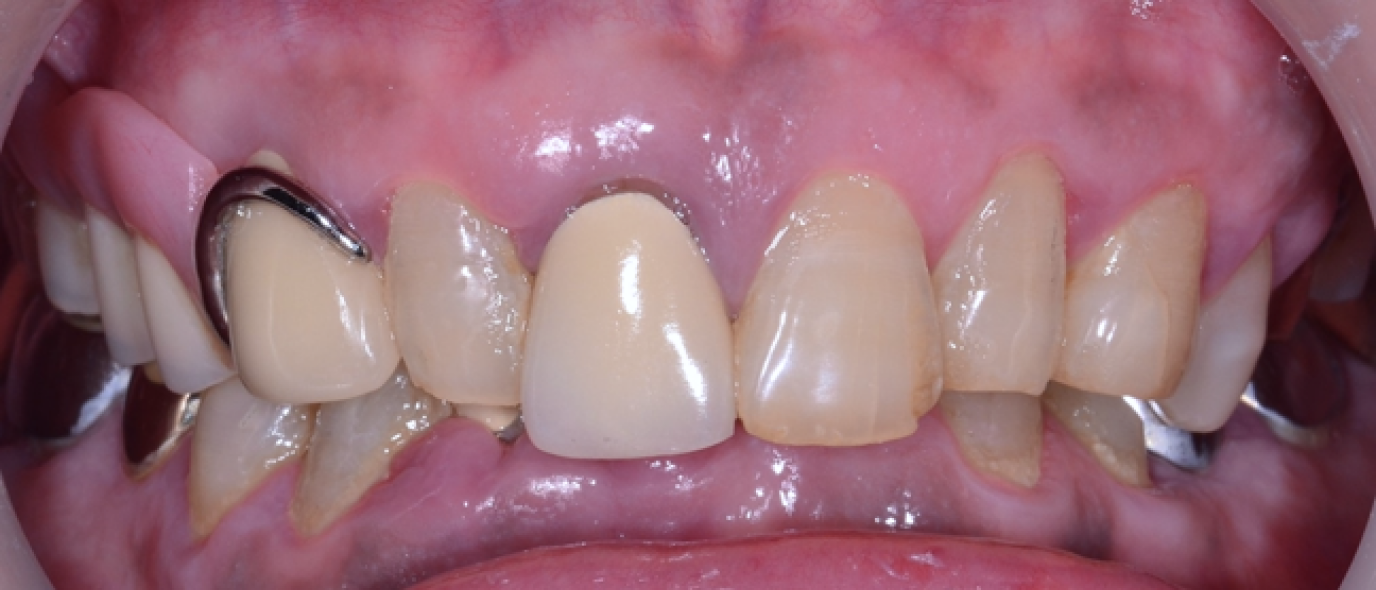
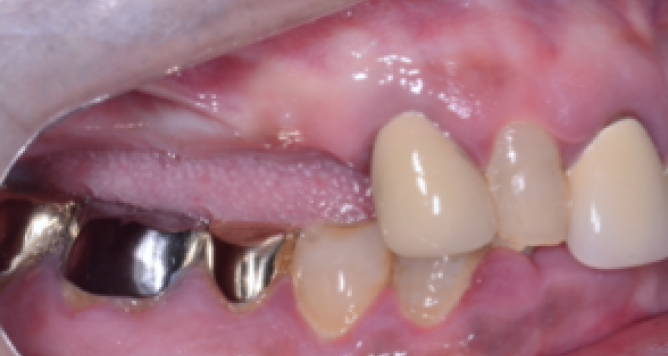
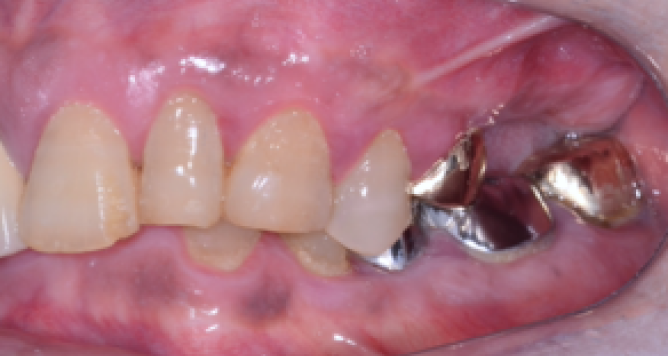
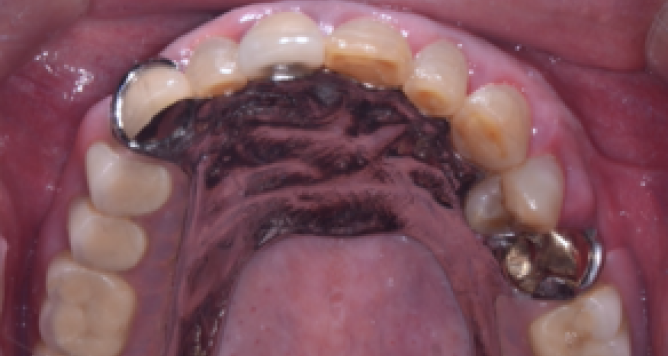
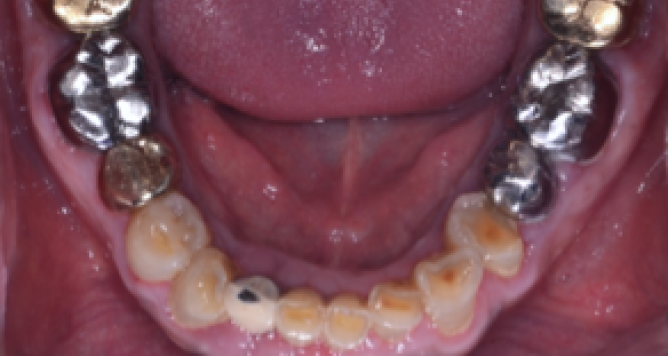
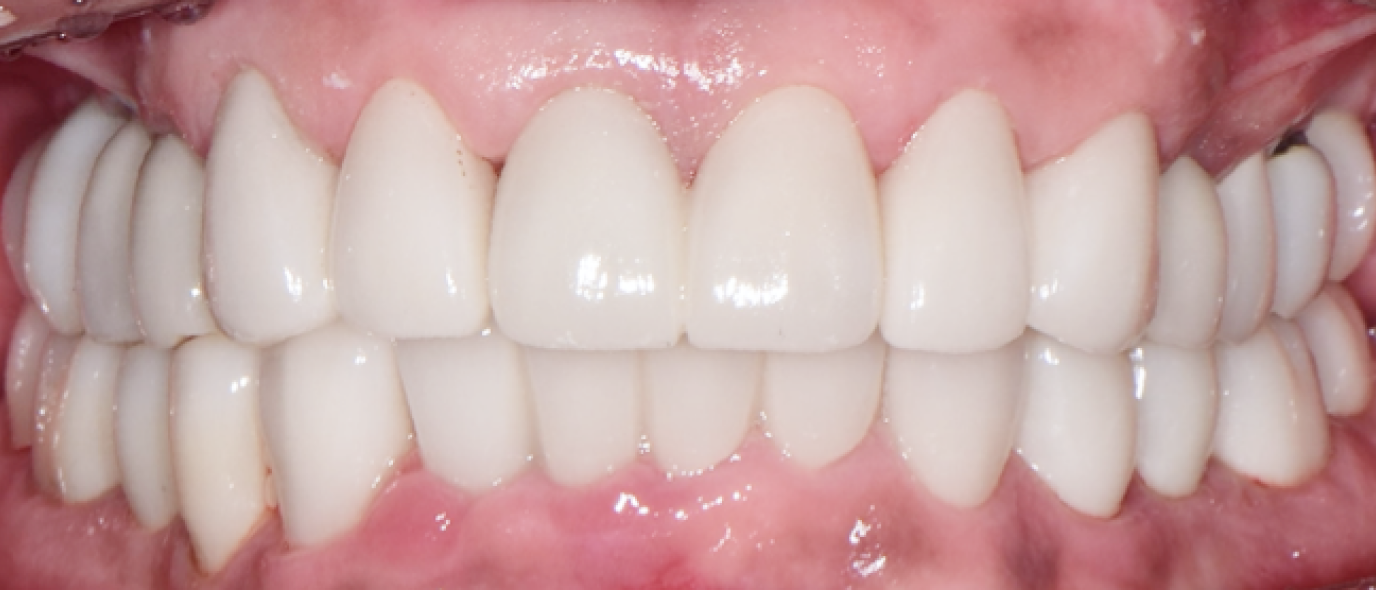
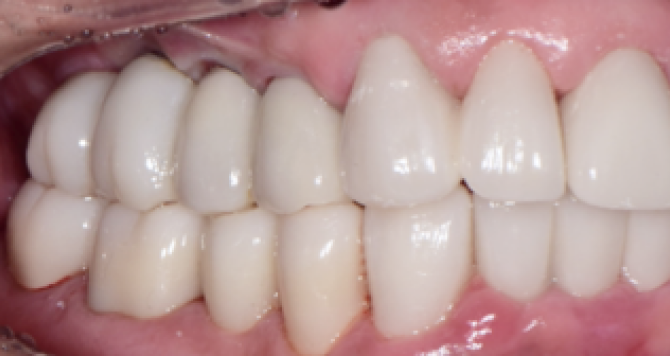
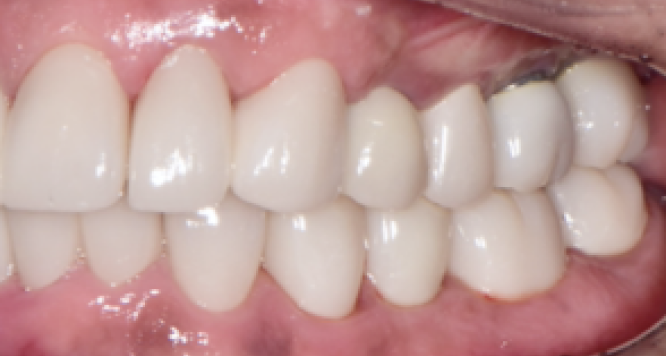
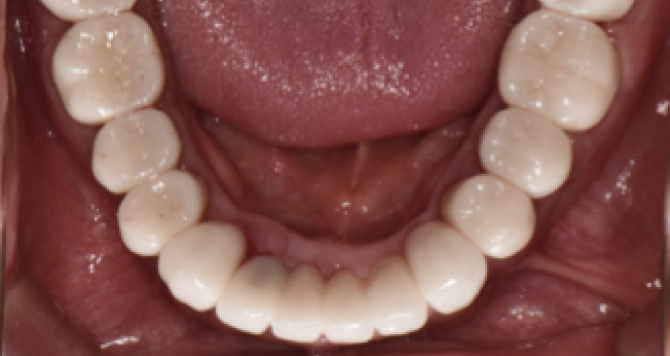
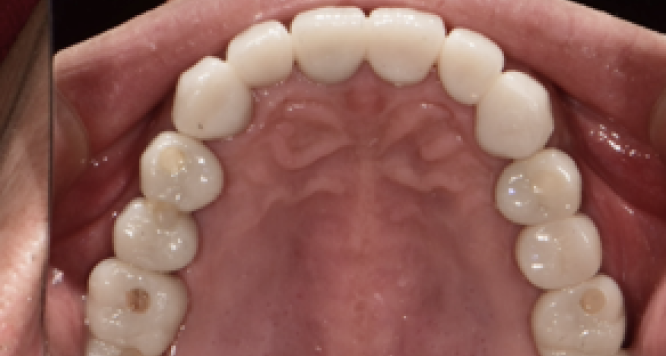
Zenith Clinical Case
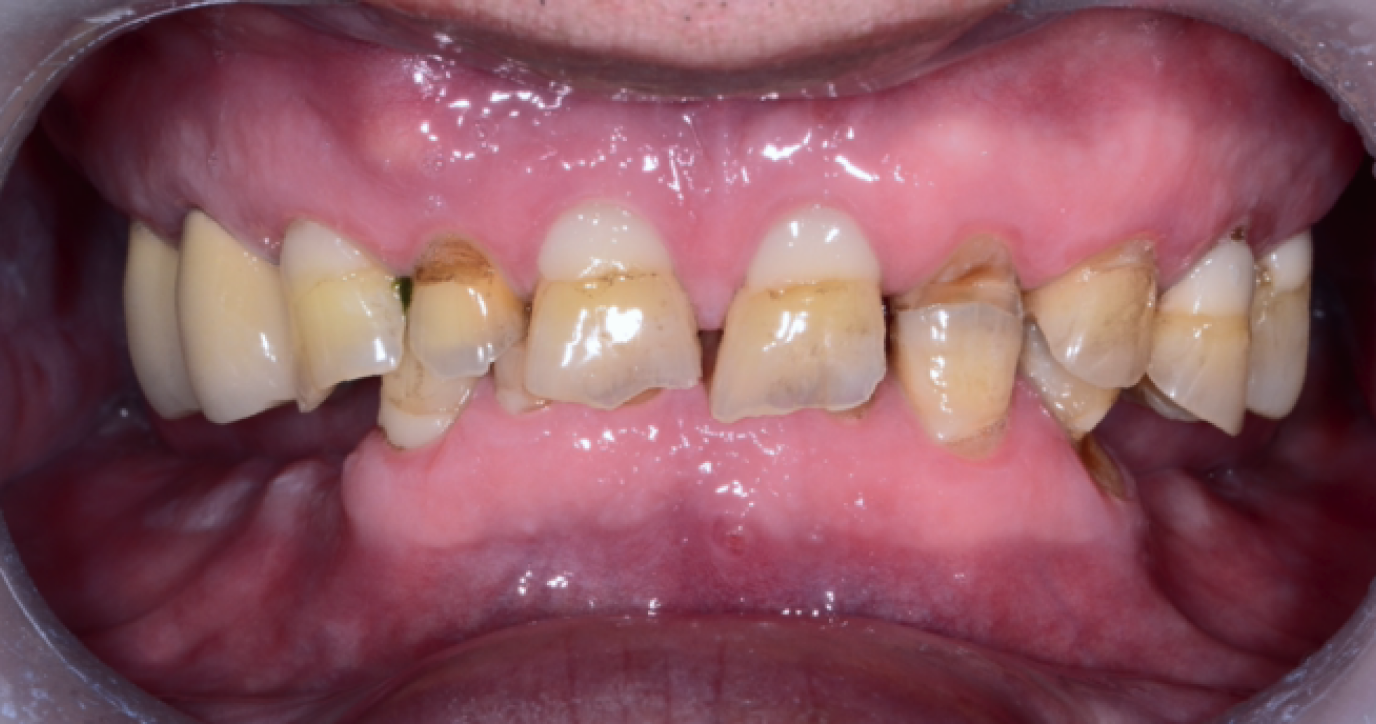 Before
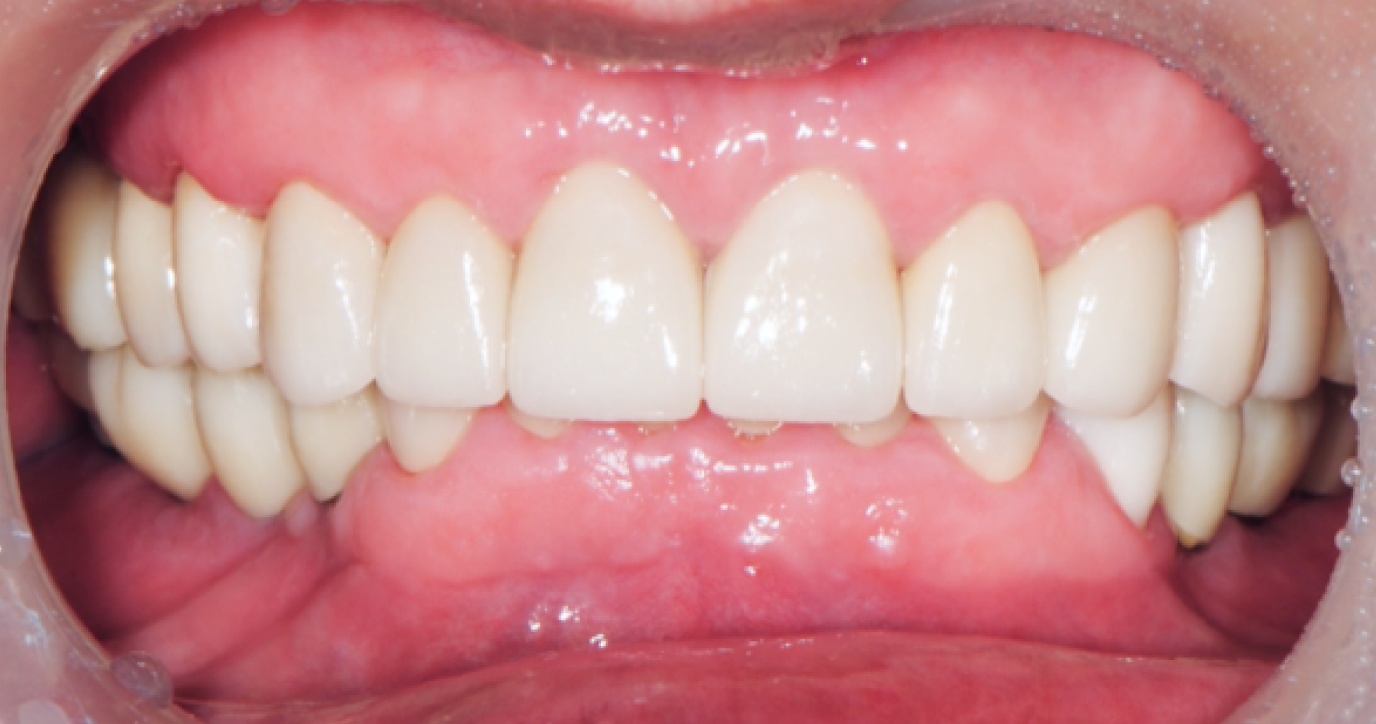 After
After
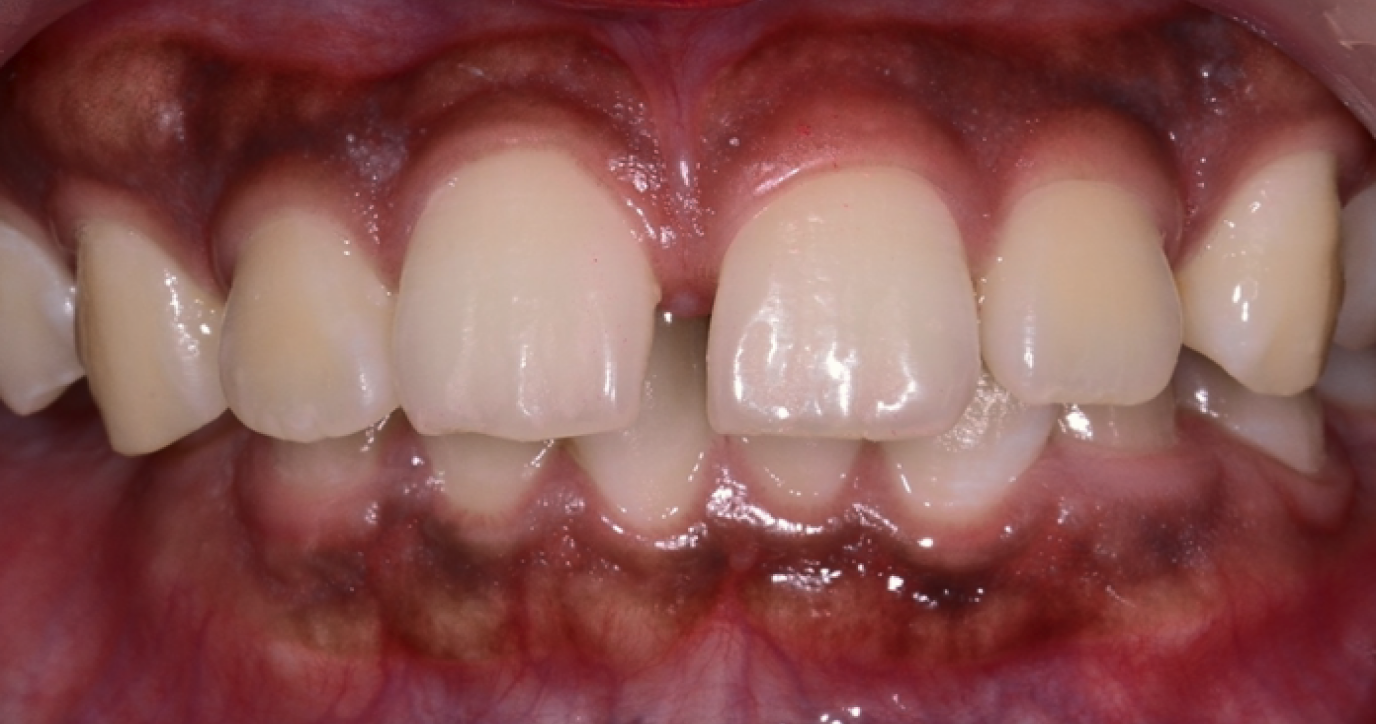 Before
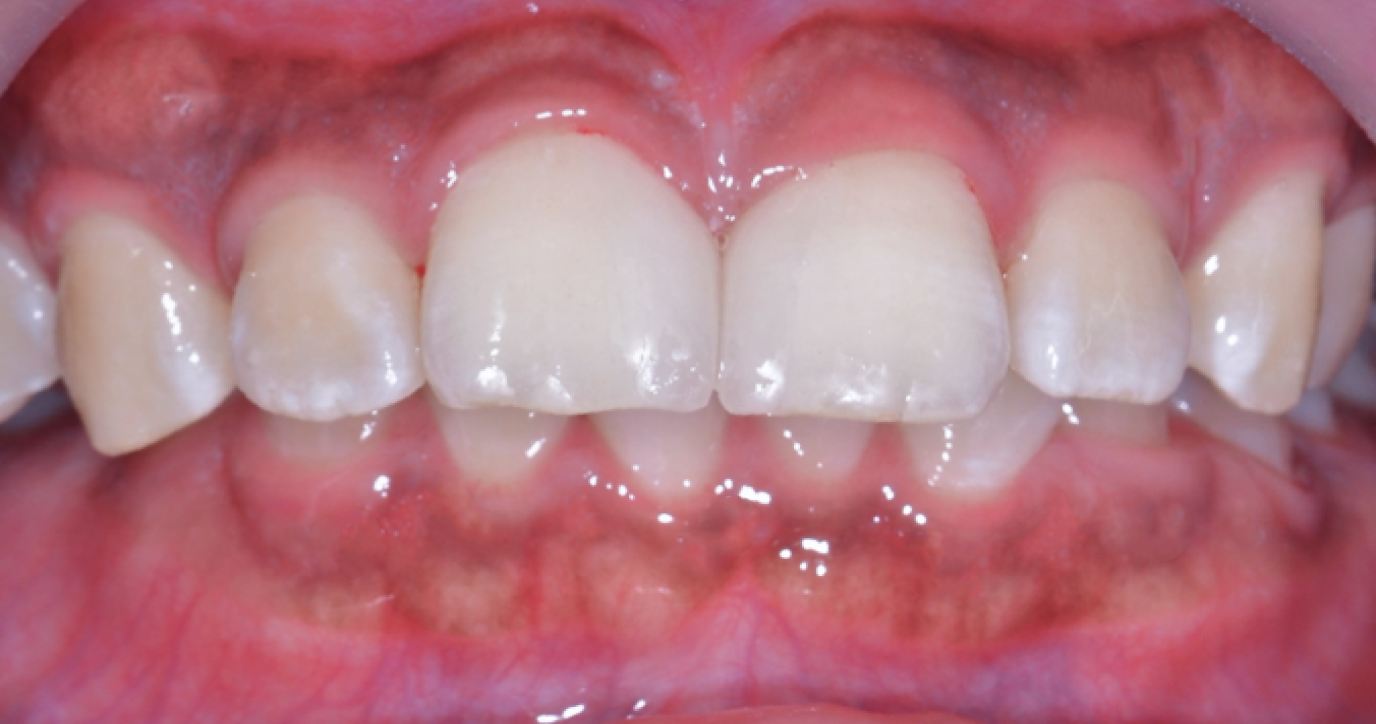 After
After
Full Case 01_Before


Full Case 01_After

Full Case 02_Before
Full Case 02_After
팝업